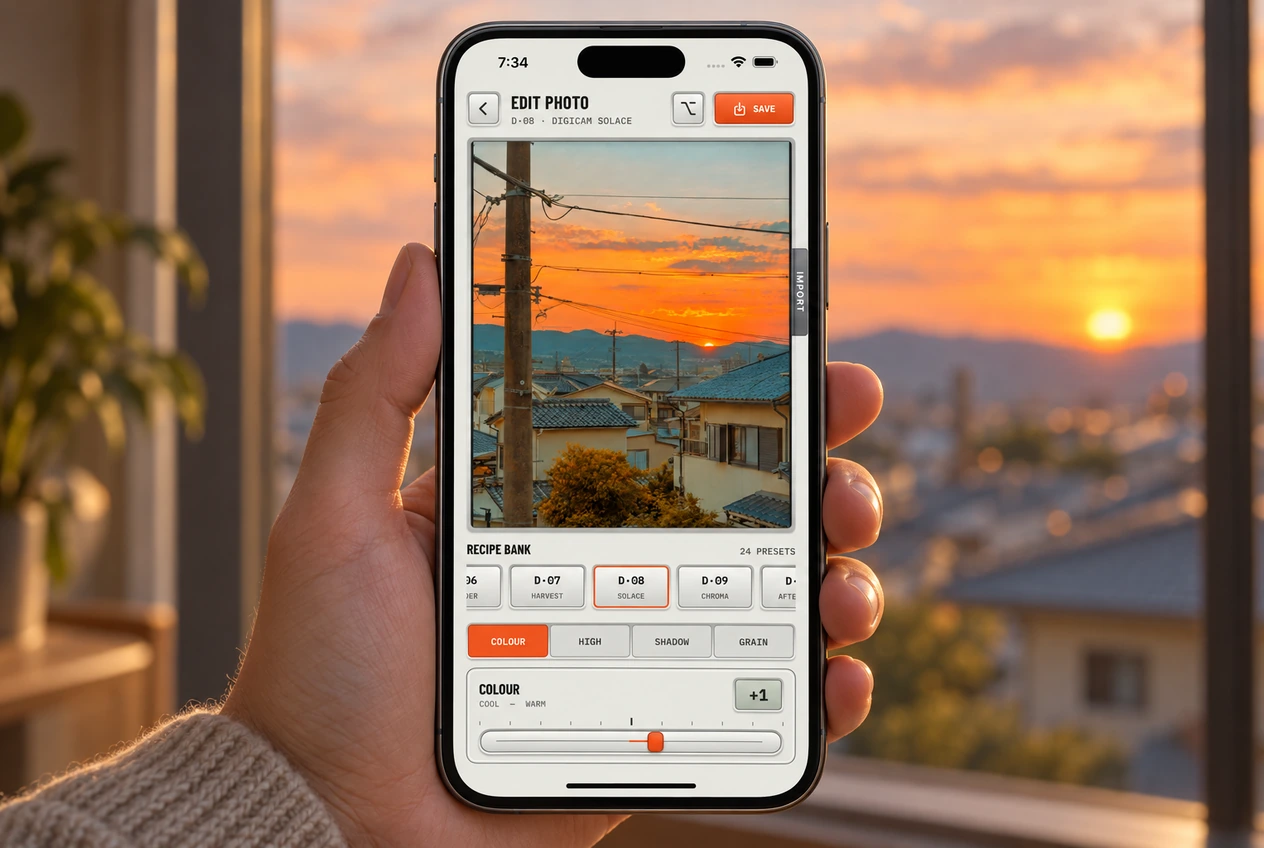
Tap Import in Digicam to give a photo from your library a film look. The trip happened months ago. The photos are still sitting there. Try a few together, find a look you like and give that unfinished holiday dump another go.
Import a photo
- Tap Import on the right edge of the camera.
- Choose a photo from the library picker.
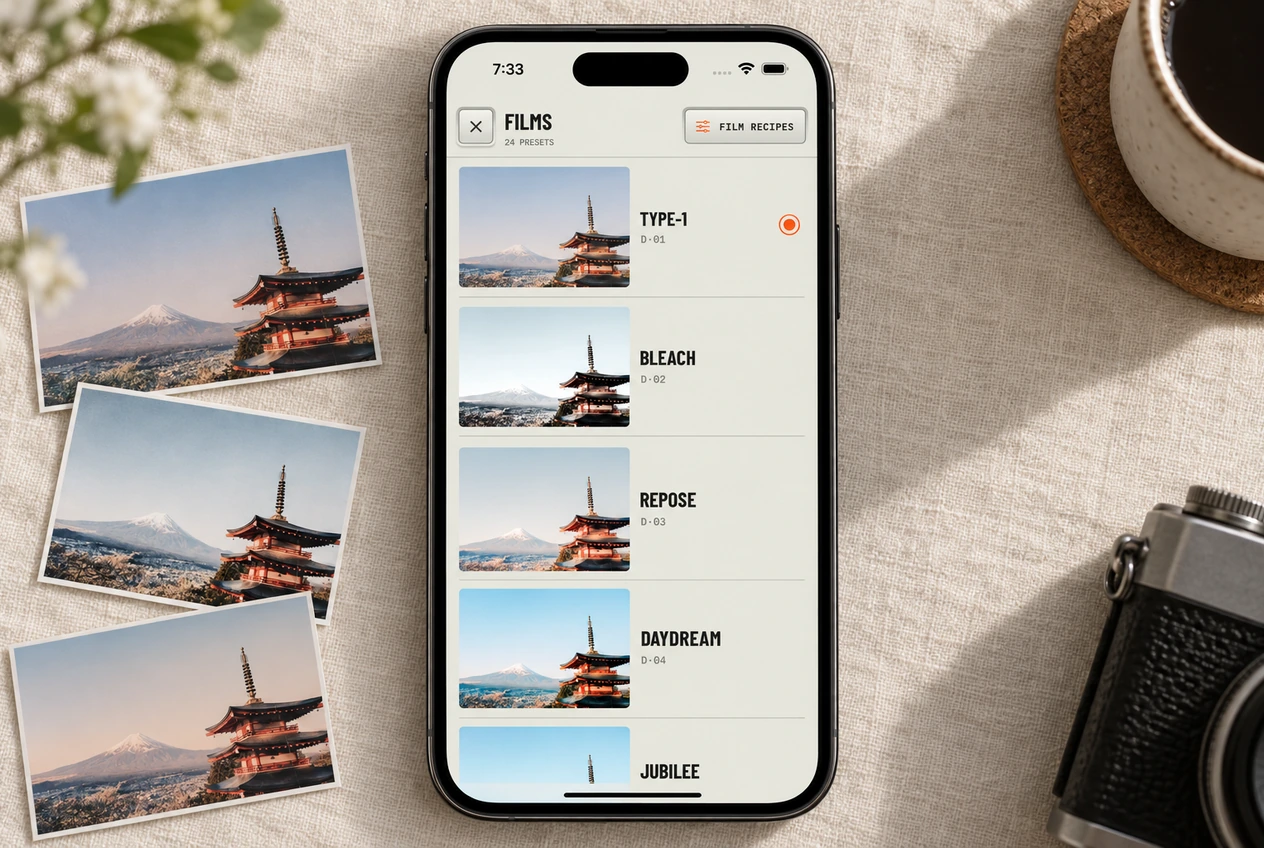
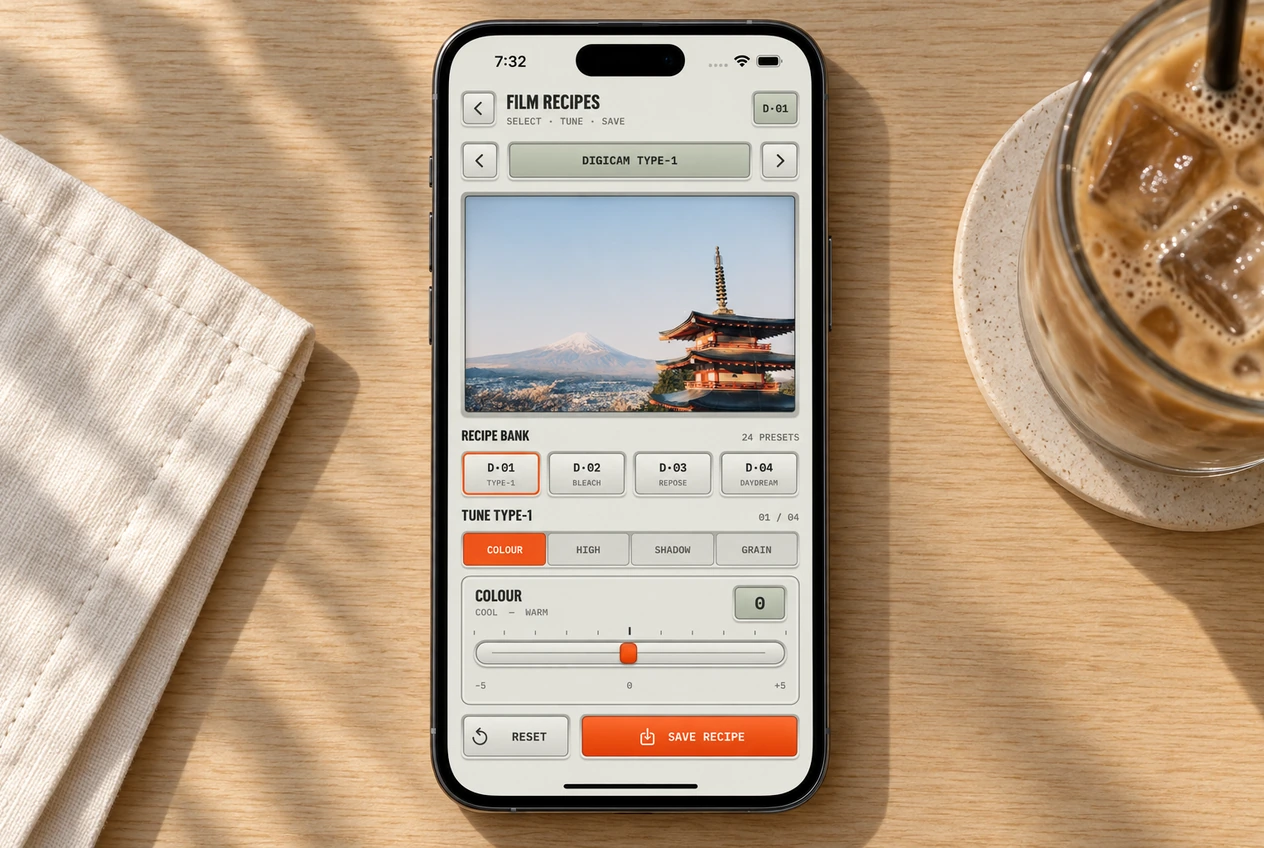
- When it opens in the editor, choose a film from the recipe bank under the preview.
Start with the original or least edited version you have. If a photo already has a strong filter, its colors and contrast become part of the input. Digicam can add a new look, but it can’t recover detail that’s already missing from that file.
Start with a small set from the same day
Find a few photos that belong together: the train ride, lunch, the beach and the blurry goodbye you still like. Begin with one clear photo that includes a person and some of the surroundings. It gives you a useful test for the color before you edit the rest.
Choose the film before the sliders
Try two or three films on that first photo. If you’re borrowing a look from a post you saved, compare similar lighting: a sunny beach photo tells you little about how the same film will look in a dark bar. Watch faces as well as the scenery. The film guide gives you a few starting points if the full bank feels like a lot.
Once you have a look you like, use the four controls to adjust color, highlights, shadows or grain. Change one at a time. For a photo that feels too warm, start with Color. For shadows that feel too dense, try lifting Shadows a little. You don’t have to move every slider for an edit to be finished.
Compare with the original
Press and hold the photo to see the original. Drag sideways to compare the two halves. Pinch to zoom in on the grain.
Check small details while zoomed in, then judge the whole image again. If the edit pulls your attention away from the subject, back off the change or try another film. The comparison is there to help you decide whether you prefer the result.
Save a new copy
Tap Save and a new copy lands in your Digicam album. The original stays exactly as it was. From there you can turn it into a before-and-after video.
Wait for the saved confirmation before leaving the editor. If the save fails, check that Digicam has Photos access in iPhone Settings and that your phone has room for another image. The settings guide covers photo library access.
Re-edit a Digicam photo without stacking the look
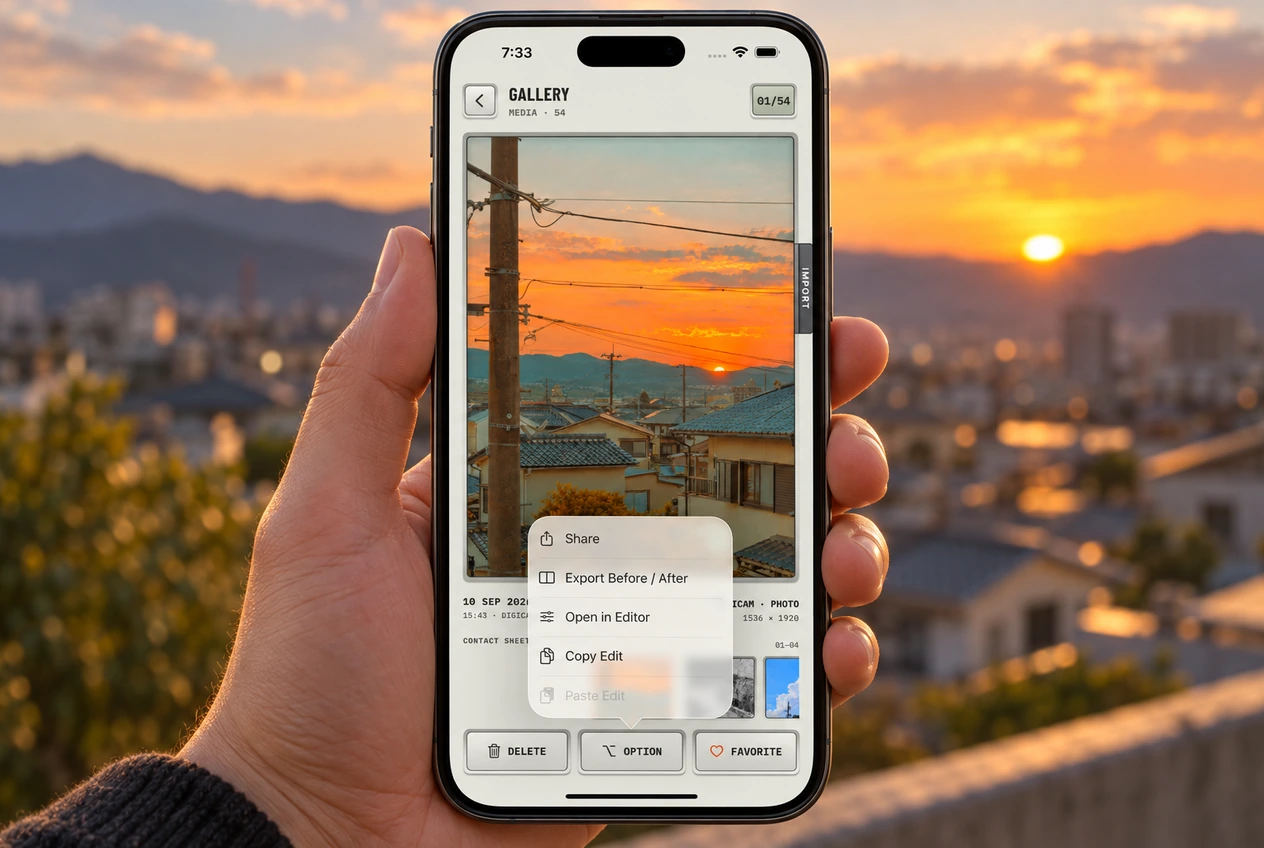
For a photo already in the Digicam gallery, use Option, then Open in Editor. When its original and Digicam edit information are available, the editor can work from that original instead of adding another film on top of the saved look. Saving from the editor makes another copy, so you can keep both versions.
If you want your new tuning to be the starting point for future shots, save it in Film Recipes. Saving a photo and saving a recipe are separate actions.
Once the set is saved, choose your favorites in the gallery. Mix the bigger scenes with a few small details when you arrange the post. A short caption about the actual trip gives the photos more context than a list of aesthetic labels.