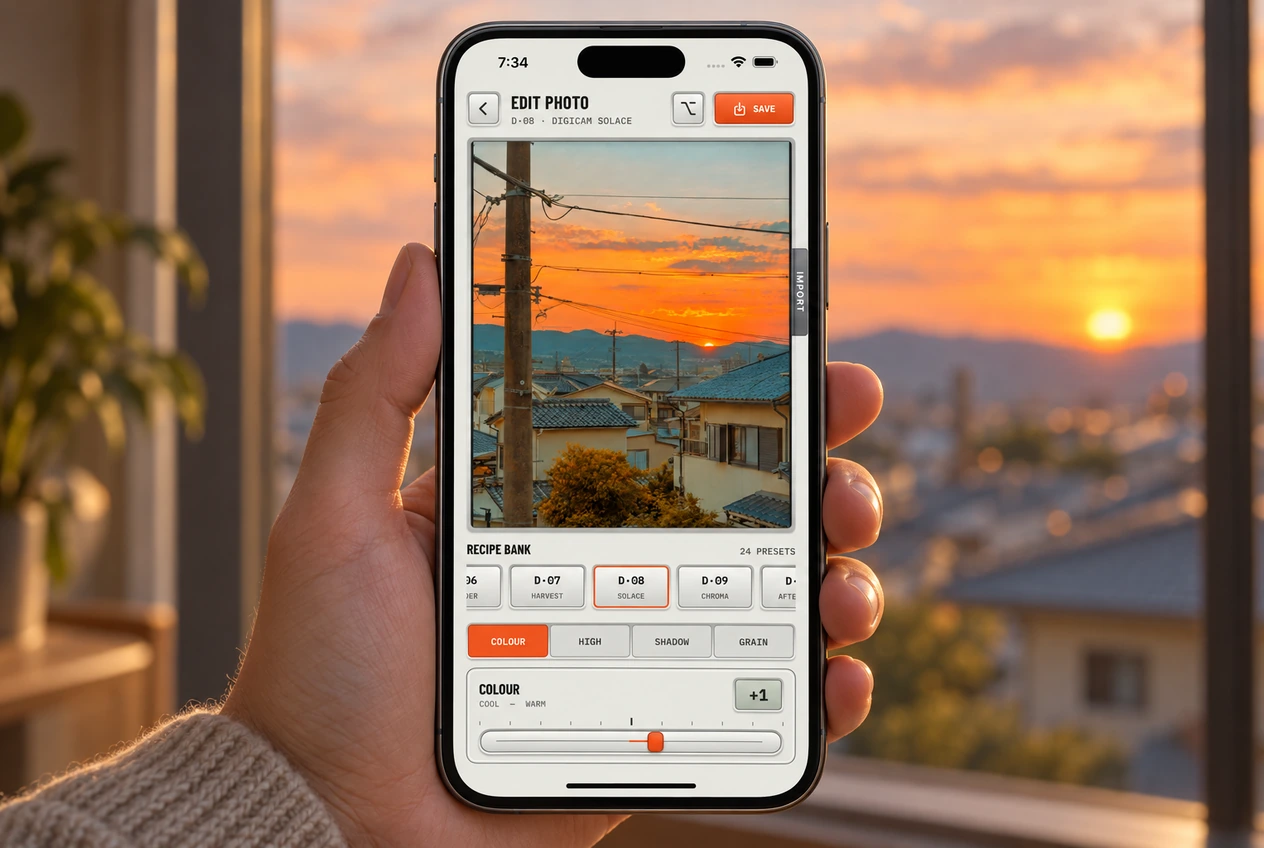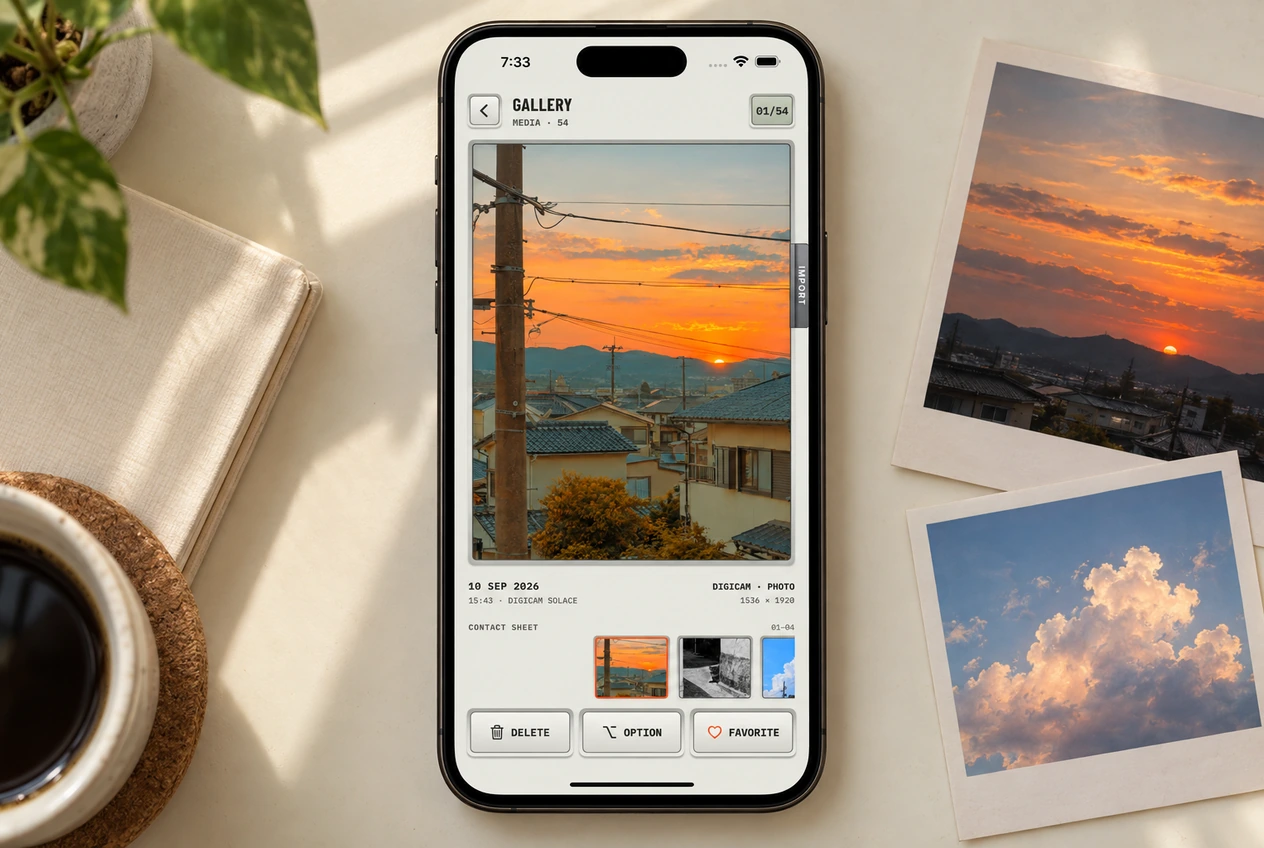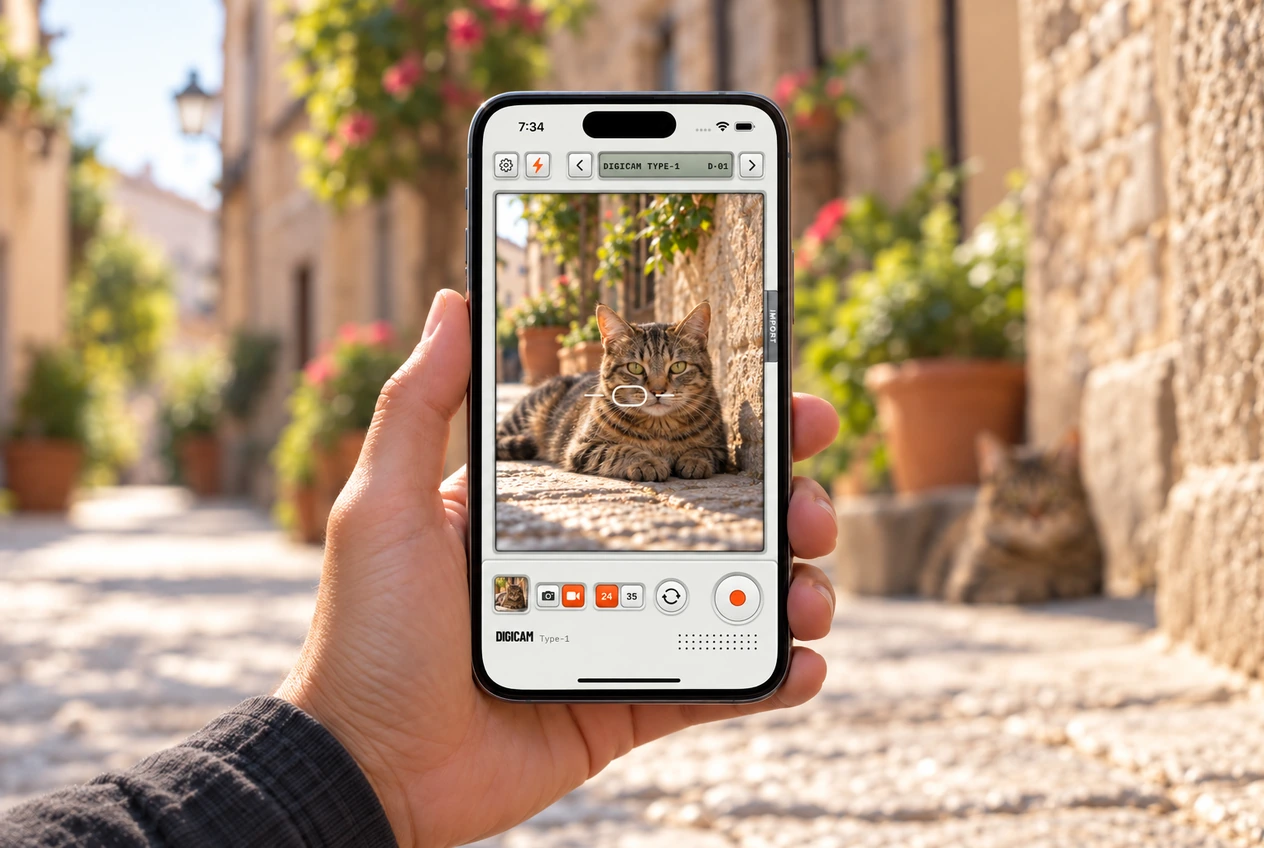
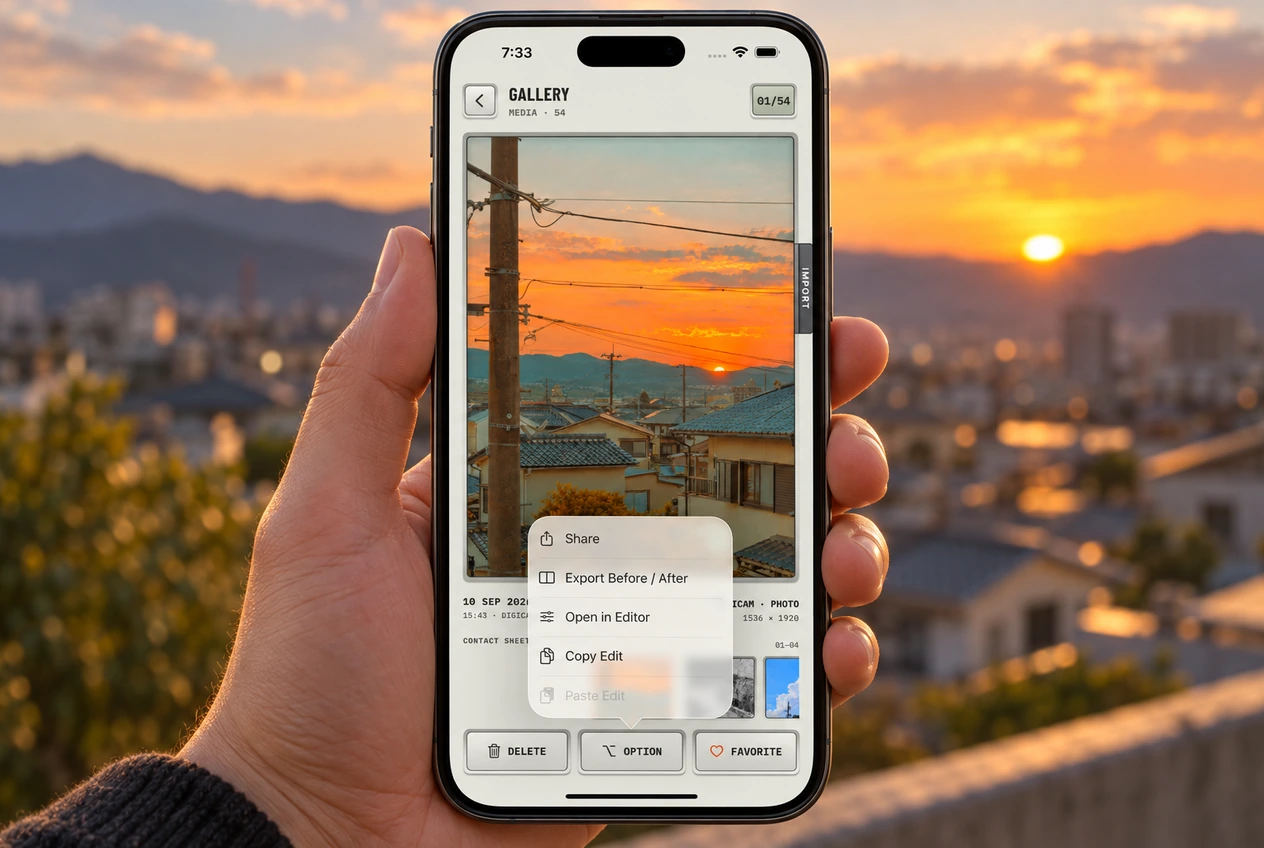
“What did you use for these?” Show them. In the gallery, choose Option, then Export Before / After to turn a Digicam photo edit into a short reveal video. It pairs the original with the saved look, ready to share alongside your photos.
Choose a photo with an original to compare
Start with a photo you shot in Digicam or saved from its photo editor. Select it in the gallery and give the original a moment to load. Hold the image to check the comparison before exporting. The change can be subtle: warmer color on a face or softer shadows is enough. You don’t have to push every slider to make the reveal work.
Export the before-and-after video
- Open the gallery and pick the photo.
- Tap Option, then Export Before / After.
- Wait while the progress indicator shows the video rendering on your phone.
- When the share sheet opens, choose where to send or save the video.
Exporting prepares the file; it doesn’t publish a post. You choose what happens next in the share sheet or the app you send it to. If you change your mind while it’s rendering, use Cancel export.
What the video looks like
The original holds for a beat, the film wipes across, it settles into a split, then the curtains close on the Digicam mark. The standard reveal is about ten seconds long, with swoosh and shutter sounds built in. If Reduce Motion is enabled on your iPhone, the export uses a reduced-motion presentation.
The export is a vertical 1080 × 1920 video. Your photo is fitted inside the layout, so a landscape image doesn’t need to become a portrait crop to make a reveal. The before view is aligned to the saved edit for the comparison.
Give the reveal a reason to be there
Share the finished photo when the moment is what you want people to see. Use the reveal when you want to show what changed: the warmer color in a holiday shot, the texture in the sky or the move to black and white. A Story after your photo dump is one way to answer questions about the edit without explaining it on every slide.
A useful caption names the look
Give people the film name and the change you actually made. For example: “Sunday by the sea. Chroma in Digicam, with the grain turned down a little.” Or, for an imported image: “Last summer, another look. Edited on iPhone with Type-1.” Adapt the words to your photo and the settings you used.
If you changed a recipe, you can include the four values so someone else can try it. Naming Digicam and saying whether you shot or edited the photo on iPhone gives them an easy starting point for making their own version.
Check it in the app where you’ll post
Preview the video in Stories, Reels or TikTok before publishing. Keep added text clear of the photo and the comparison labels. Listen once if you add music, since the export already has sound. You can pair it with a clip from the same outing if you’re making a longer video there. Digicam exports the reveal; any extra sequencing happens in your posting or editing app.
If Export Before / After is unavailable
Check that you’ve selected a still photo with Digicam edit information and that its original has loaded. A recorded video or a photo without a recoverable comparison won’t support this export. For an image from your library, first import it, apply a film and save, then select the saved copy in the gallery.
If you only want to send the photo itself, choose Share instead. The gallery guide explains the other actions in Option.