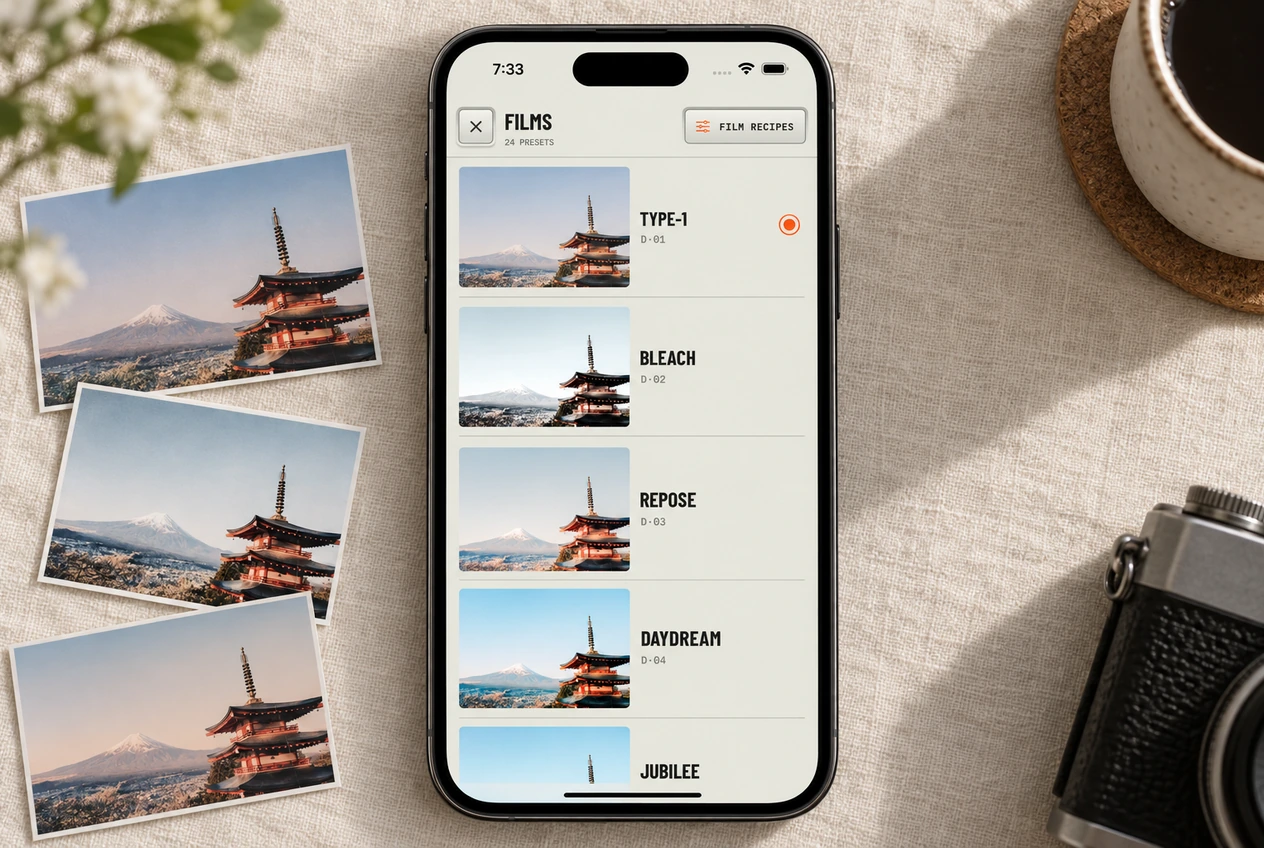
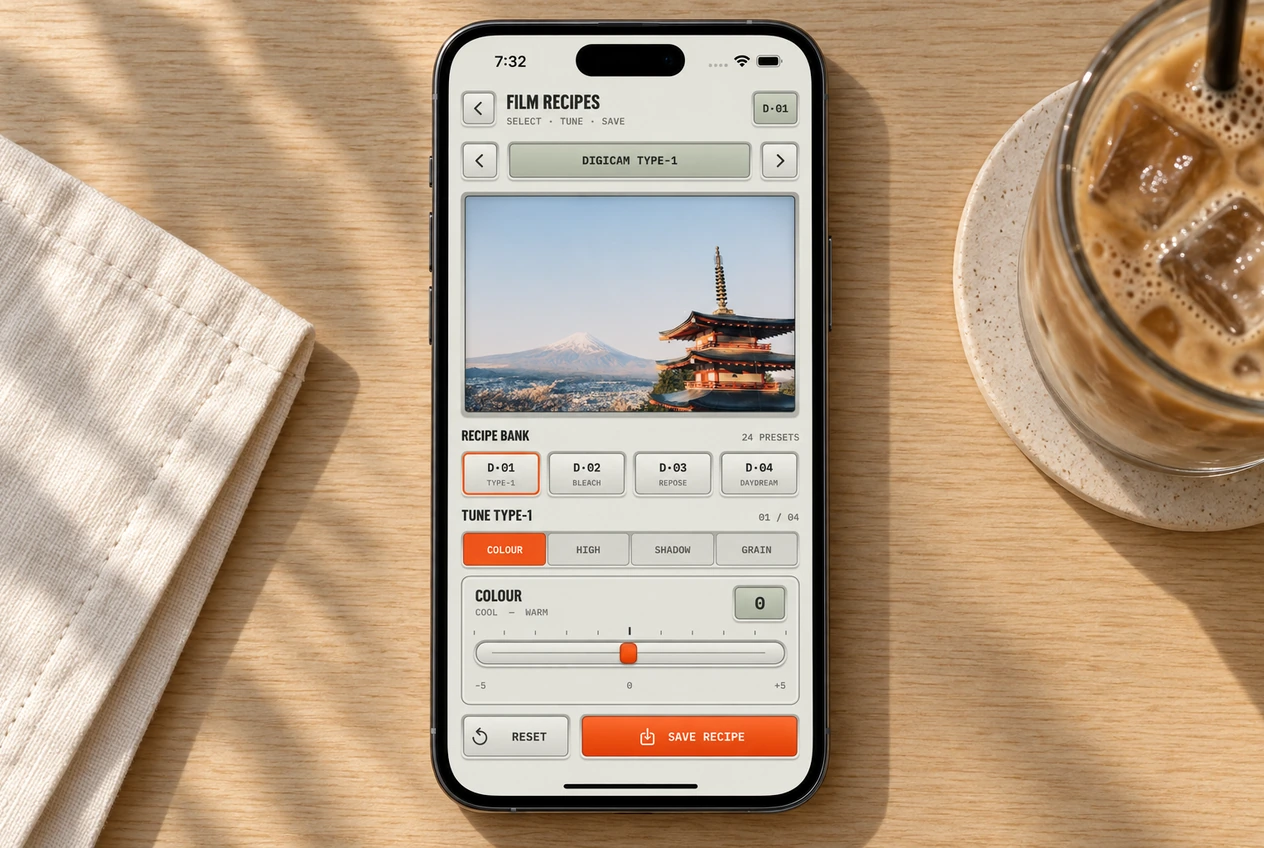
A recipe is a film plus your own tuning. Every film comes tuned the way we like it. If the look you keep saving on your feed is warmer, softer in the shadows or a little grainier, this is where you can explore that direction for your own photos.
Where to find Film Recipes
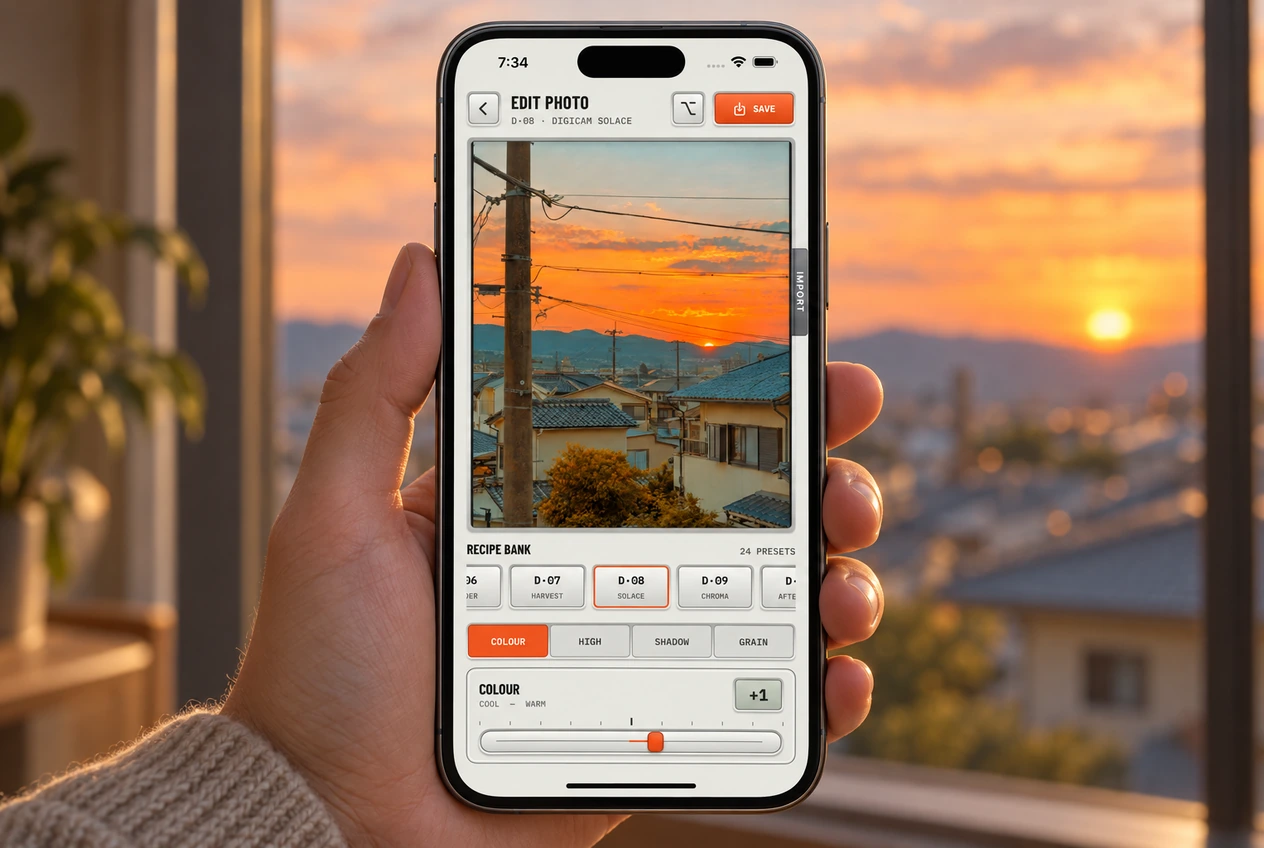
Open Settings with the gear at the top left, then tap Film Recipes. You can also get there from the film list. Pick a film from the recipe bank at the bottom and the preview updates above.
The four sliders
- Color · cool to warm
- Changes the color balance. Watch a face or a neutral wall while you move it, so the whole scene doesn’t become warmer than you meant.
- Highlights · soft to hard
- Changes the treatment of bright areas. Look at a window, cloud or white shirt to judge the result.
- Shadows · crush to lift
- Changes how the darker parts read. Try lifting them for a gentler feel or crushing them when you want deeper blacks.
- Grain · fine to coarse
- Adjusts the texture. Check it up close, then at the size you’ll actually view or share the photo.
Each slider runs from minus five to plus five. A film’s default settings aren’t necessarily all zero. Some films also have texture built into their base look, so zero grain doesn’t always mean a completely grain-free image.
Use a reference photo to find your direction
Look at a photo you like and name the thing you’re responding to. Warm skin? Pale shadows? Visible texture in the sky? Choose the closest film, then use the relevant slider. A bright flash or a sunset is part of how the photo was taken; recipe sliders won’t recreate that lighting by themselves.
Try a small change for the next outing
For a softer daytime set, take a film you already like and move Shadows one step toward lift, if there’s room on the slider. Compare the preview before changing anything else. For a warmer travel diary, try a small Color adjustment and watch what it does to faces as well as buildings. These are experiments to judge on your own photos, not fixed recipes you have to follow.
If you want a quieter texture, try moving Grain toward fine before changing the contrast. If you want warmer color, adjust Color and keep an eye on skin. There’s no universal set of numbers that suits every scene; small changes are a useful place to start.
Save a recipe you want to shoot with
Move the sliders until the preview looks right, then tap Save Recipe. From then on, that film uses your saved tuning in the camera. Each film has one saved recipe, so saving another version replaces its previous tuning. Make a note of the four numbers first if you want to keep an earlier combination for later.
Reset to the film’s original settings
Tap Reset to bring the selected film’s default values back into the controls. Then tap Save Recipe to keep that reset. Resetting the controls alone doesn’t replace the saved recipe. You don’t need to remember the factory numbers or put every slider back to zero.
A saved recipe and a one-photo edit
When you select a film to edit an old photo, its saved recipe gives you a starting point. Moving sliders in the photo editor changes that photo’s edit. To change the recipe you’ll shoot with next time, use Save Recipe in Film Recipes.
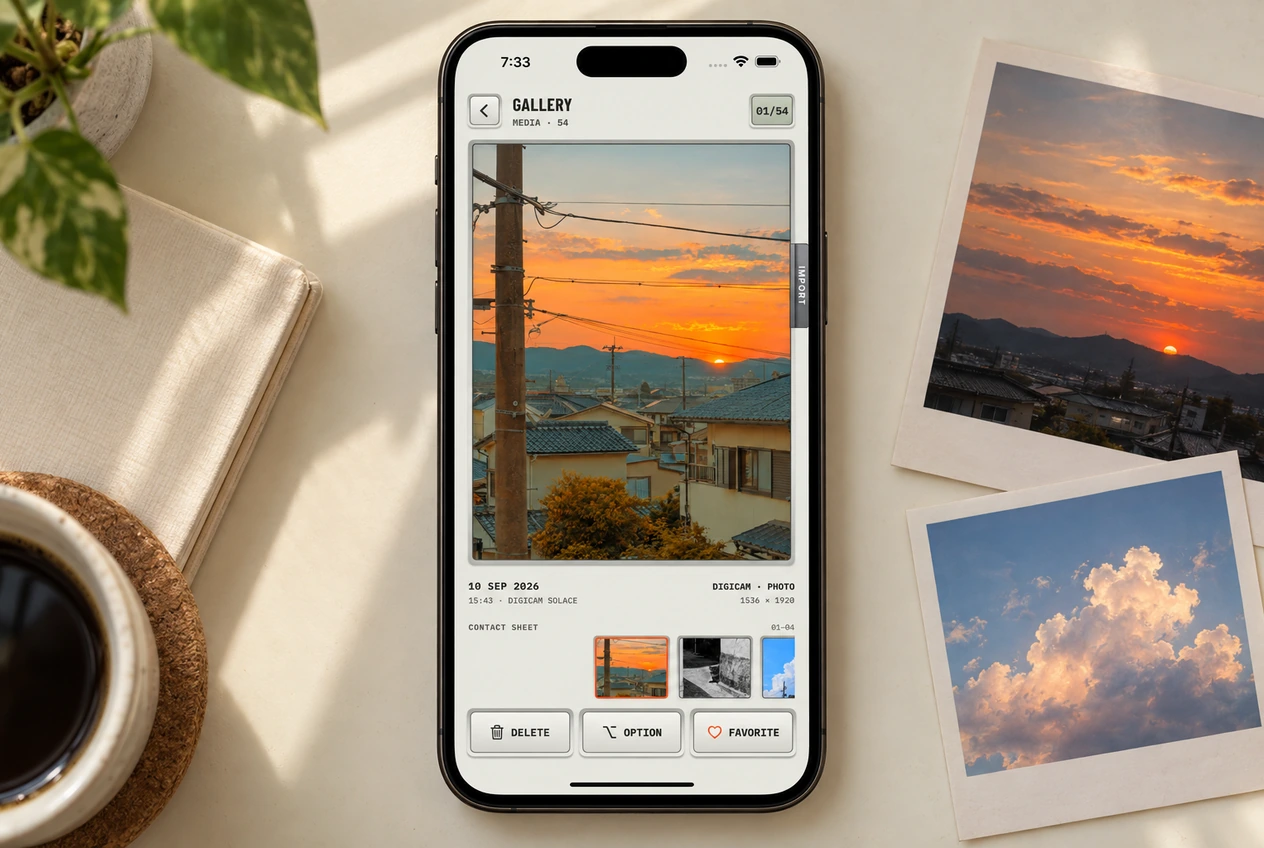
Saving a recipe won’t go back and change your earlier photos. For a set you’ve already shot, use the gallery’s Copy Edit and Paste Edit controls to carry a look from one photo to another.